
by Lisa Kiley – Published in The Horsemen’s Corral
Installing an electric fence for horses can be a DIY project!
Installing an electric fence for horses can seem overwhelming. With the right tools and techniques you can actually do it yourself. In this 4-part series we are going to cover some of the areas that may be preventing you from taking on the project. Installing an electric fence for horses doesn’t have to be difficult. As a result, it can save money and be a rewarding experience.
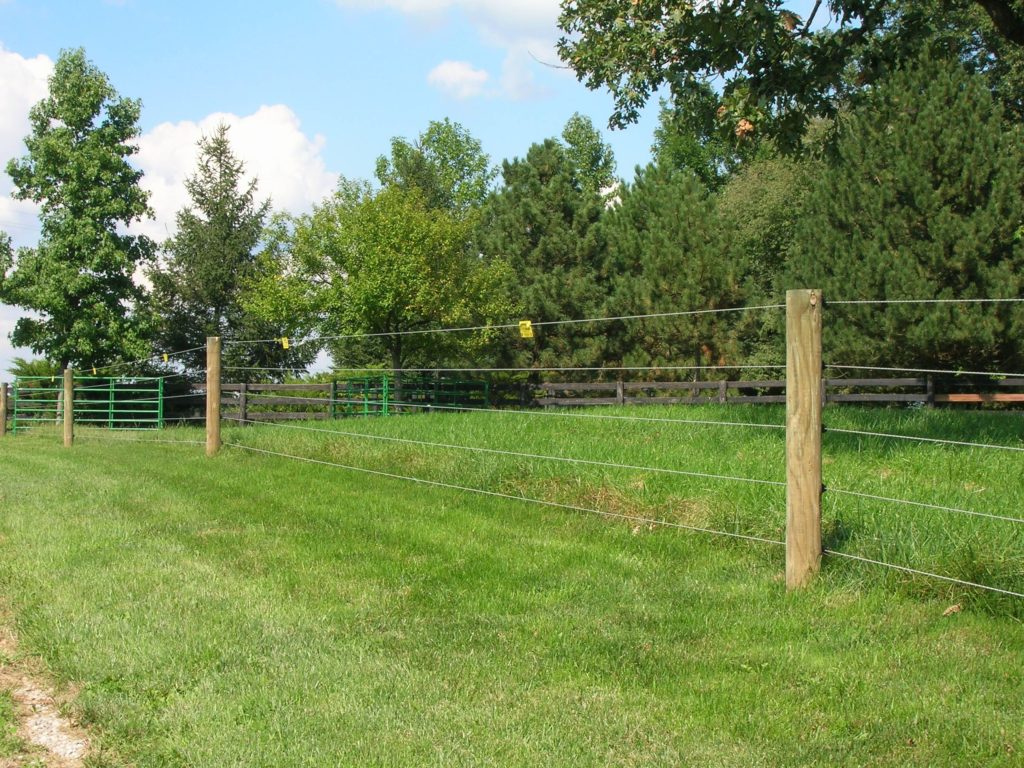
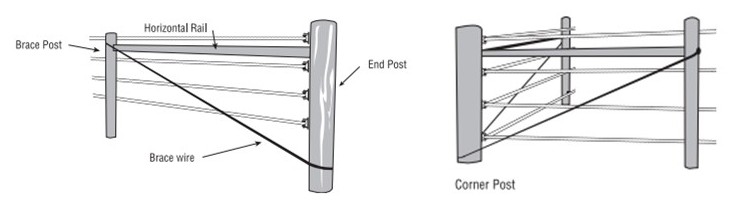
This month, we are going to focus on corner posts and proper bracing. Any type of horse fence that requires tensioning needs to be braced properly in the corners.
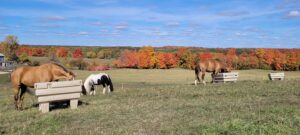
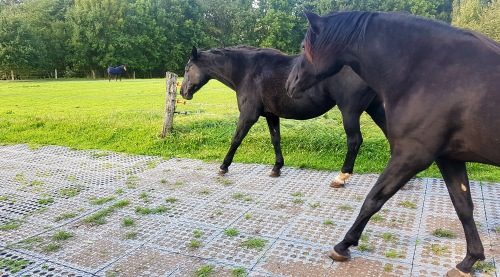
There are many styles of fencing to choose from and each may have some differences in specific installation. We will use the example of a braided rope fence because it is a very popular and a safe electric fence for horses. It is also a great choice because it is one that most people can install on their own.
Selecting Fence Posts
Selecting high quality posts of the appropriate size is important. Especially if you want an electric fence for horses that will last for years with minimal maintenance.
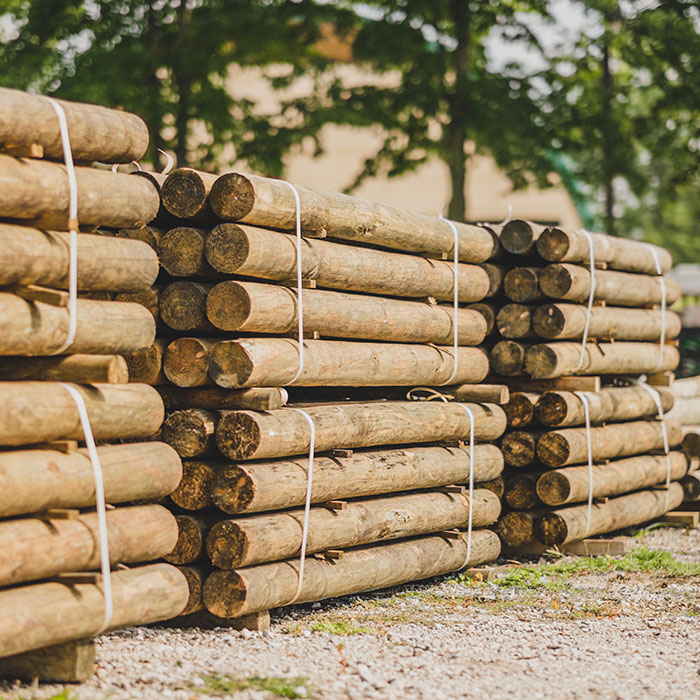
Proper corner bracing requires a heavy-duty wood anchor post. While no wood post will last forever, selecting a pressure treated product will delay decay.
The anchor post should be at least 6” in diameter. It will need to go no less than 4 feet into the ground. If you want your fence to be 5’ tall, you will need a 9’ anchor post.
Tip: Always check how deep the frost line is in the area you are building. Putting the post below the frost line will prevent heaving.
Preparation for installing an electric fence for horses
Before you dig any holes in the ground, there are some important preparation steps to take. Mark post locations so that the fence line will be straight. If you are creating a square or rectangular pasture, measure from corner to corner across the pasture to ensure the spacing is equidistant.
Each corner will need one anchor post and two line posts. These will be put into the ground vertically. Two brace posts will then be used horizontally to create the H- Brace (most commonly creating a 90-degree angle).
The length of the horizontal brace posts should be at least 10’. If the bracing post isn’t long enough, once tension is placed on the fence, the corner posts can heave out of the ground.
Installing Corner H-Braces
The post holes can be dug by hand. However, a post hole digger, hand auger, or post pounder can make it much easier. If you are planning on renting these items, call ahead as they are in high demand.
Back fill post holes with limestone and tamp in around the posts methodically.
Ensure that the top of the posts are even by using a level. This will prevent weaknesses in the post over time. After the anchor post and 2 supporting line posts have been placed, it is time to prepare for installing the horizontal brace posts.
This requires using brace pins that will fit into both the top of the corner post and the end of the brace post. It is recommended to use two 5” pins going into the corner post on each side and two 10” pins that will go into the two supporting line posts on either end of the H-Brace. This will require measuring and pre-drilling so that the braces can be easily tapped into the posts.
Diagonal Brace Wire
There are several options when it comes to installing diagonal brace wire. The angle of the wire needs to be 22 degrees or less for proper weight distribution and bracing capacity to prevent the posts from lifting.
Brace wire should be 9-gauge wire or a braided cable such as a “quick-brace” kit. While the electric fence will run in front of this cross wire, to prevent horses from encountering it, a protective coating can be slid over which will also increase visibility and protection.
Once the H-braces and wire have been installed, you can be confident that a strong foundation has been set in place for your horse fence.
Next month, part 2 of how to install an electric fence for horses, we will discuss installing and tensioning the fence lines.