
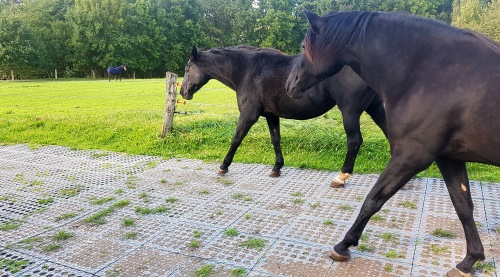
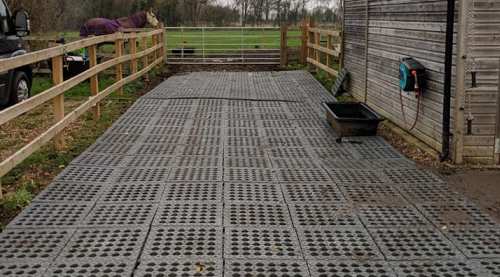
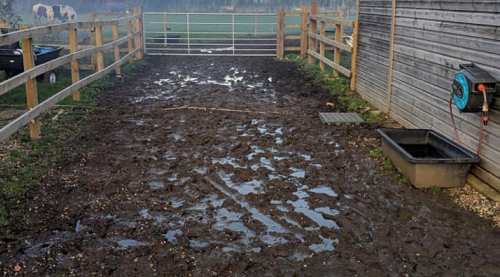
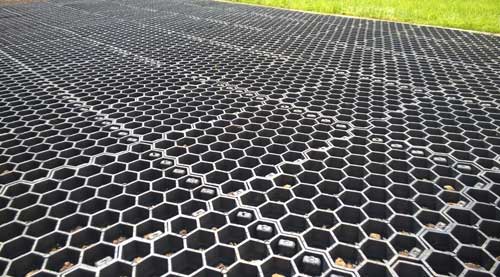
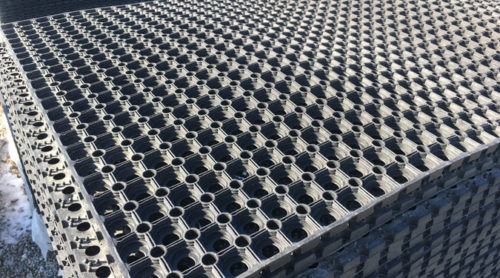
Cashman’s Stable Ground Mud Solution is easy to install and is a great choice for stability and comfort for your equine friends. Mud Grids have excellent water drainage, and a weather-resistant design. They require minimal ground preparation and will last for years. Crafted from 100% recycled plastics, they’re eco-friendly and cost-effective too!
Save when you Buy More!
100+ grids – $17.00 per grid
250+ grids – $16.50 per grid
500+ grids – $15.50 per grid
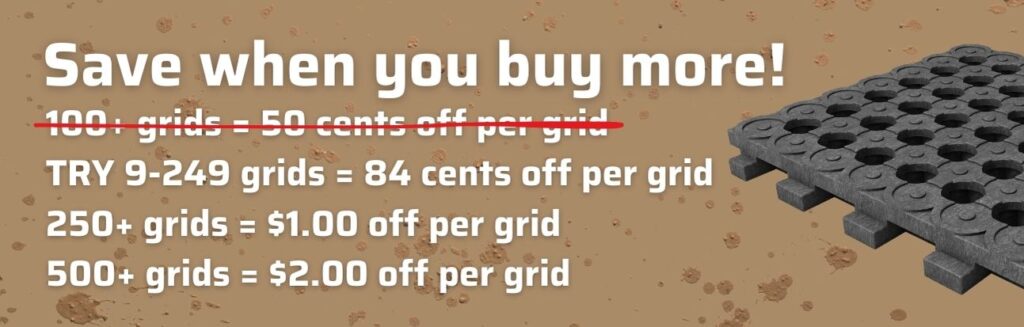
Pricing good April 1st-30th, 2025
Click for the Mud Grid Calculator

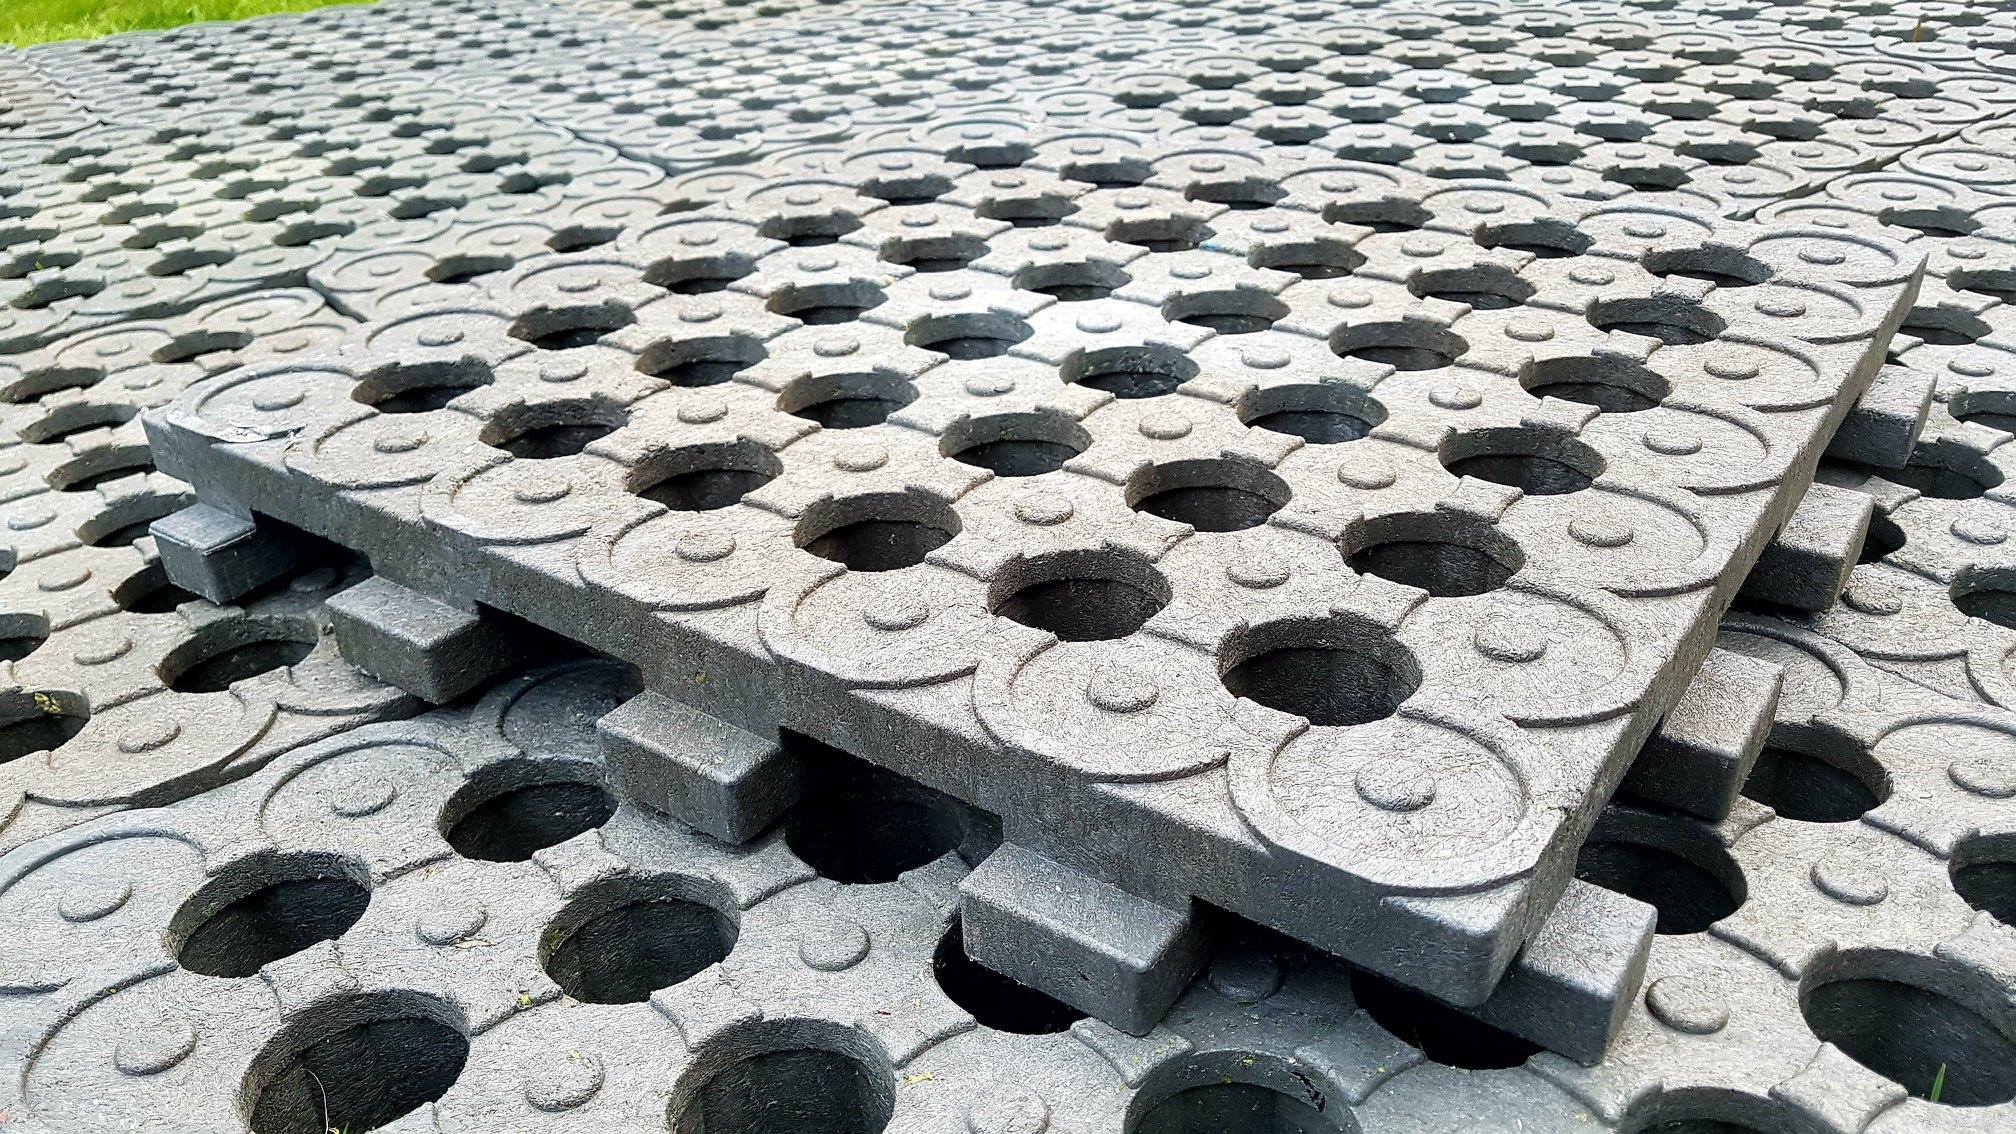
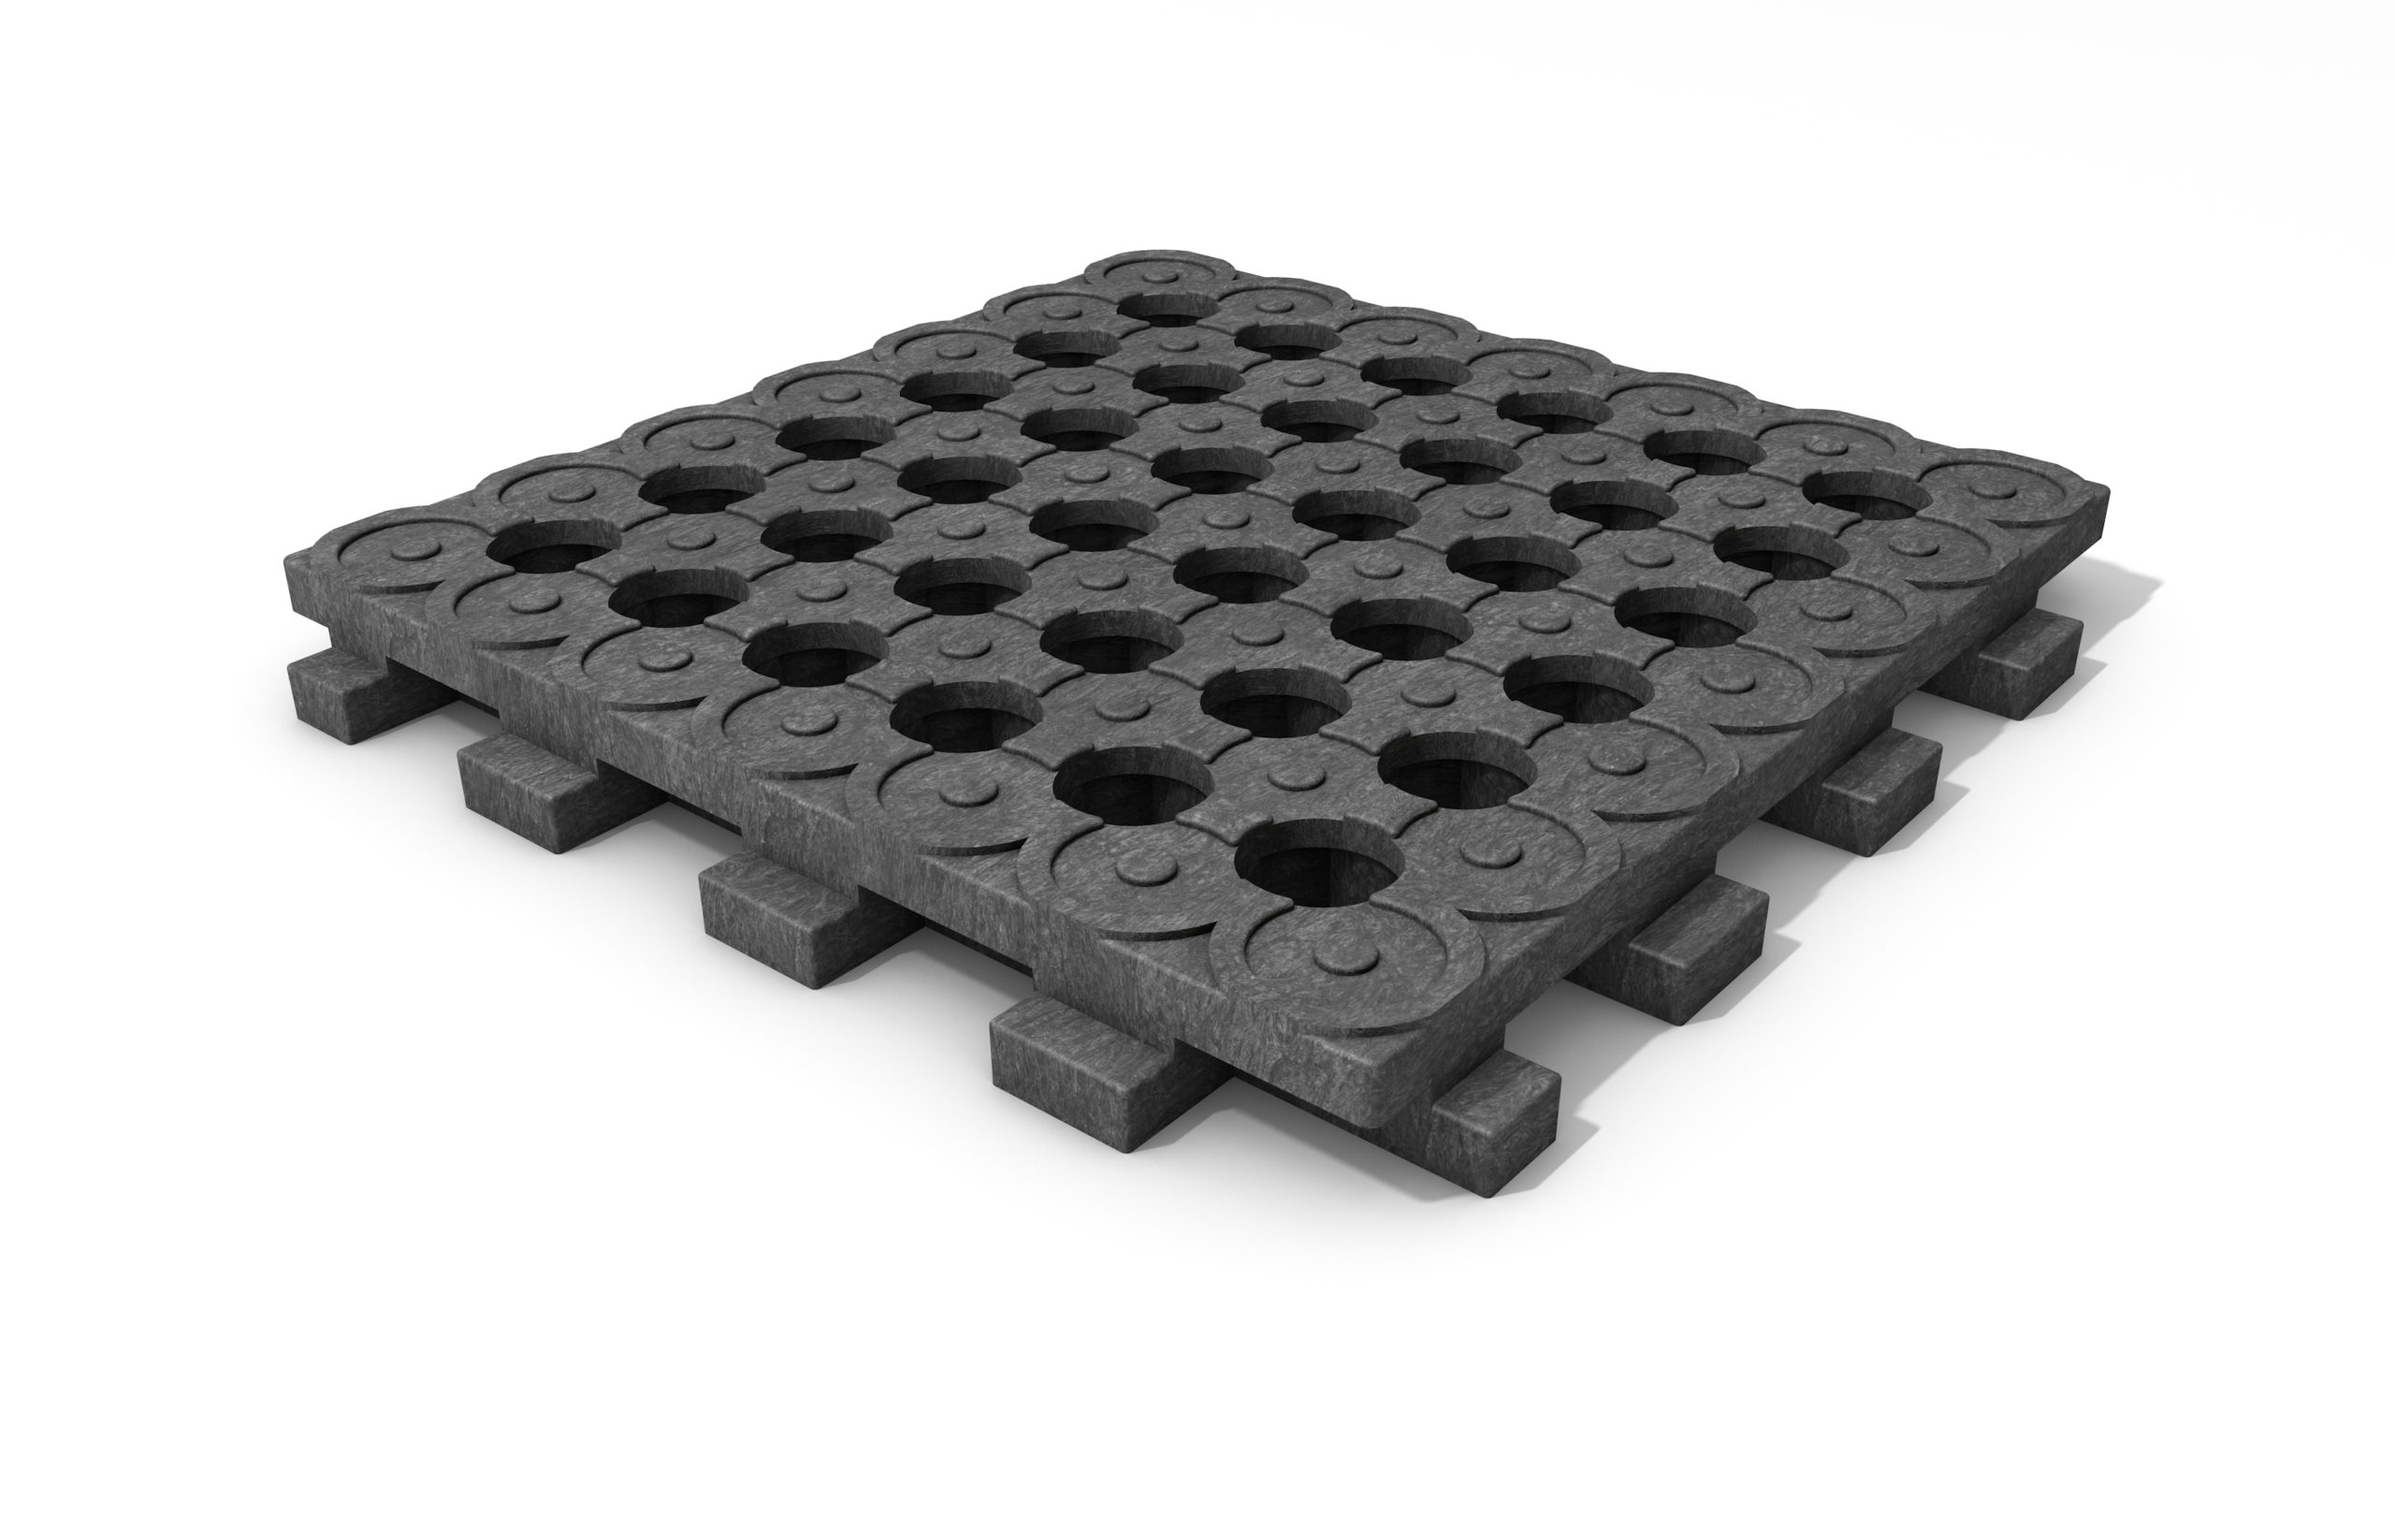
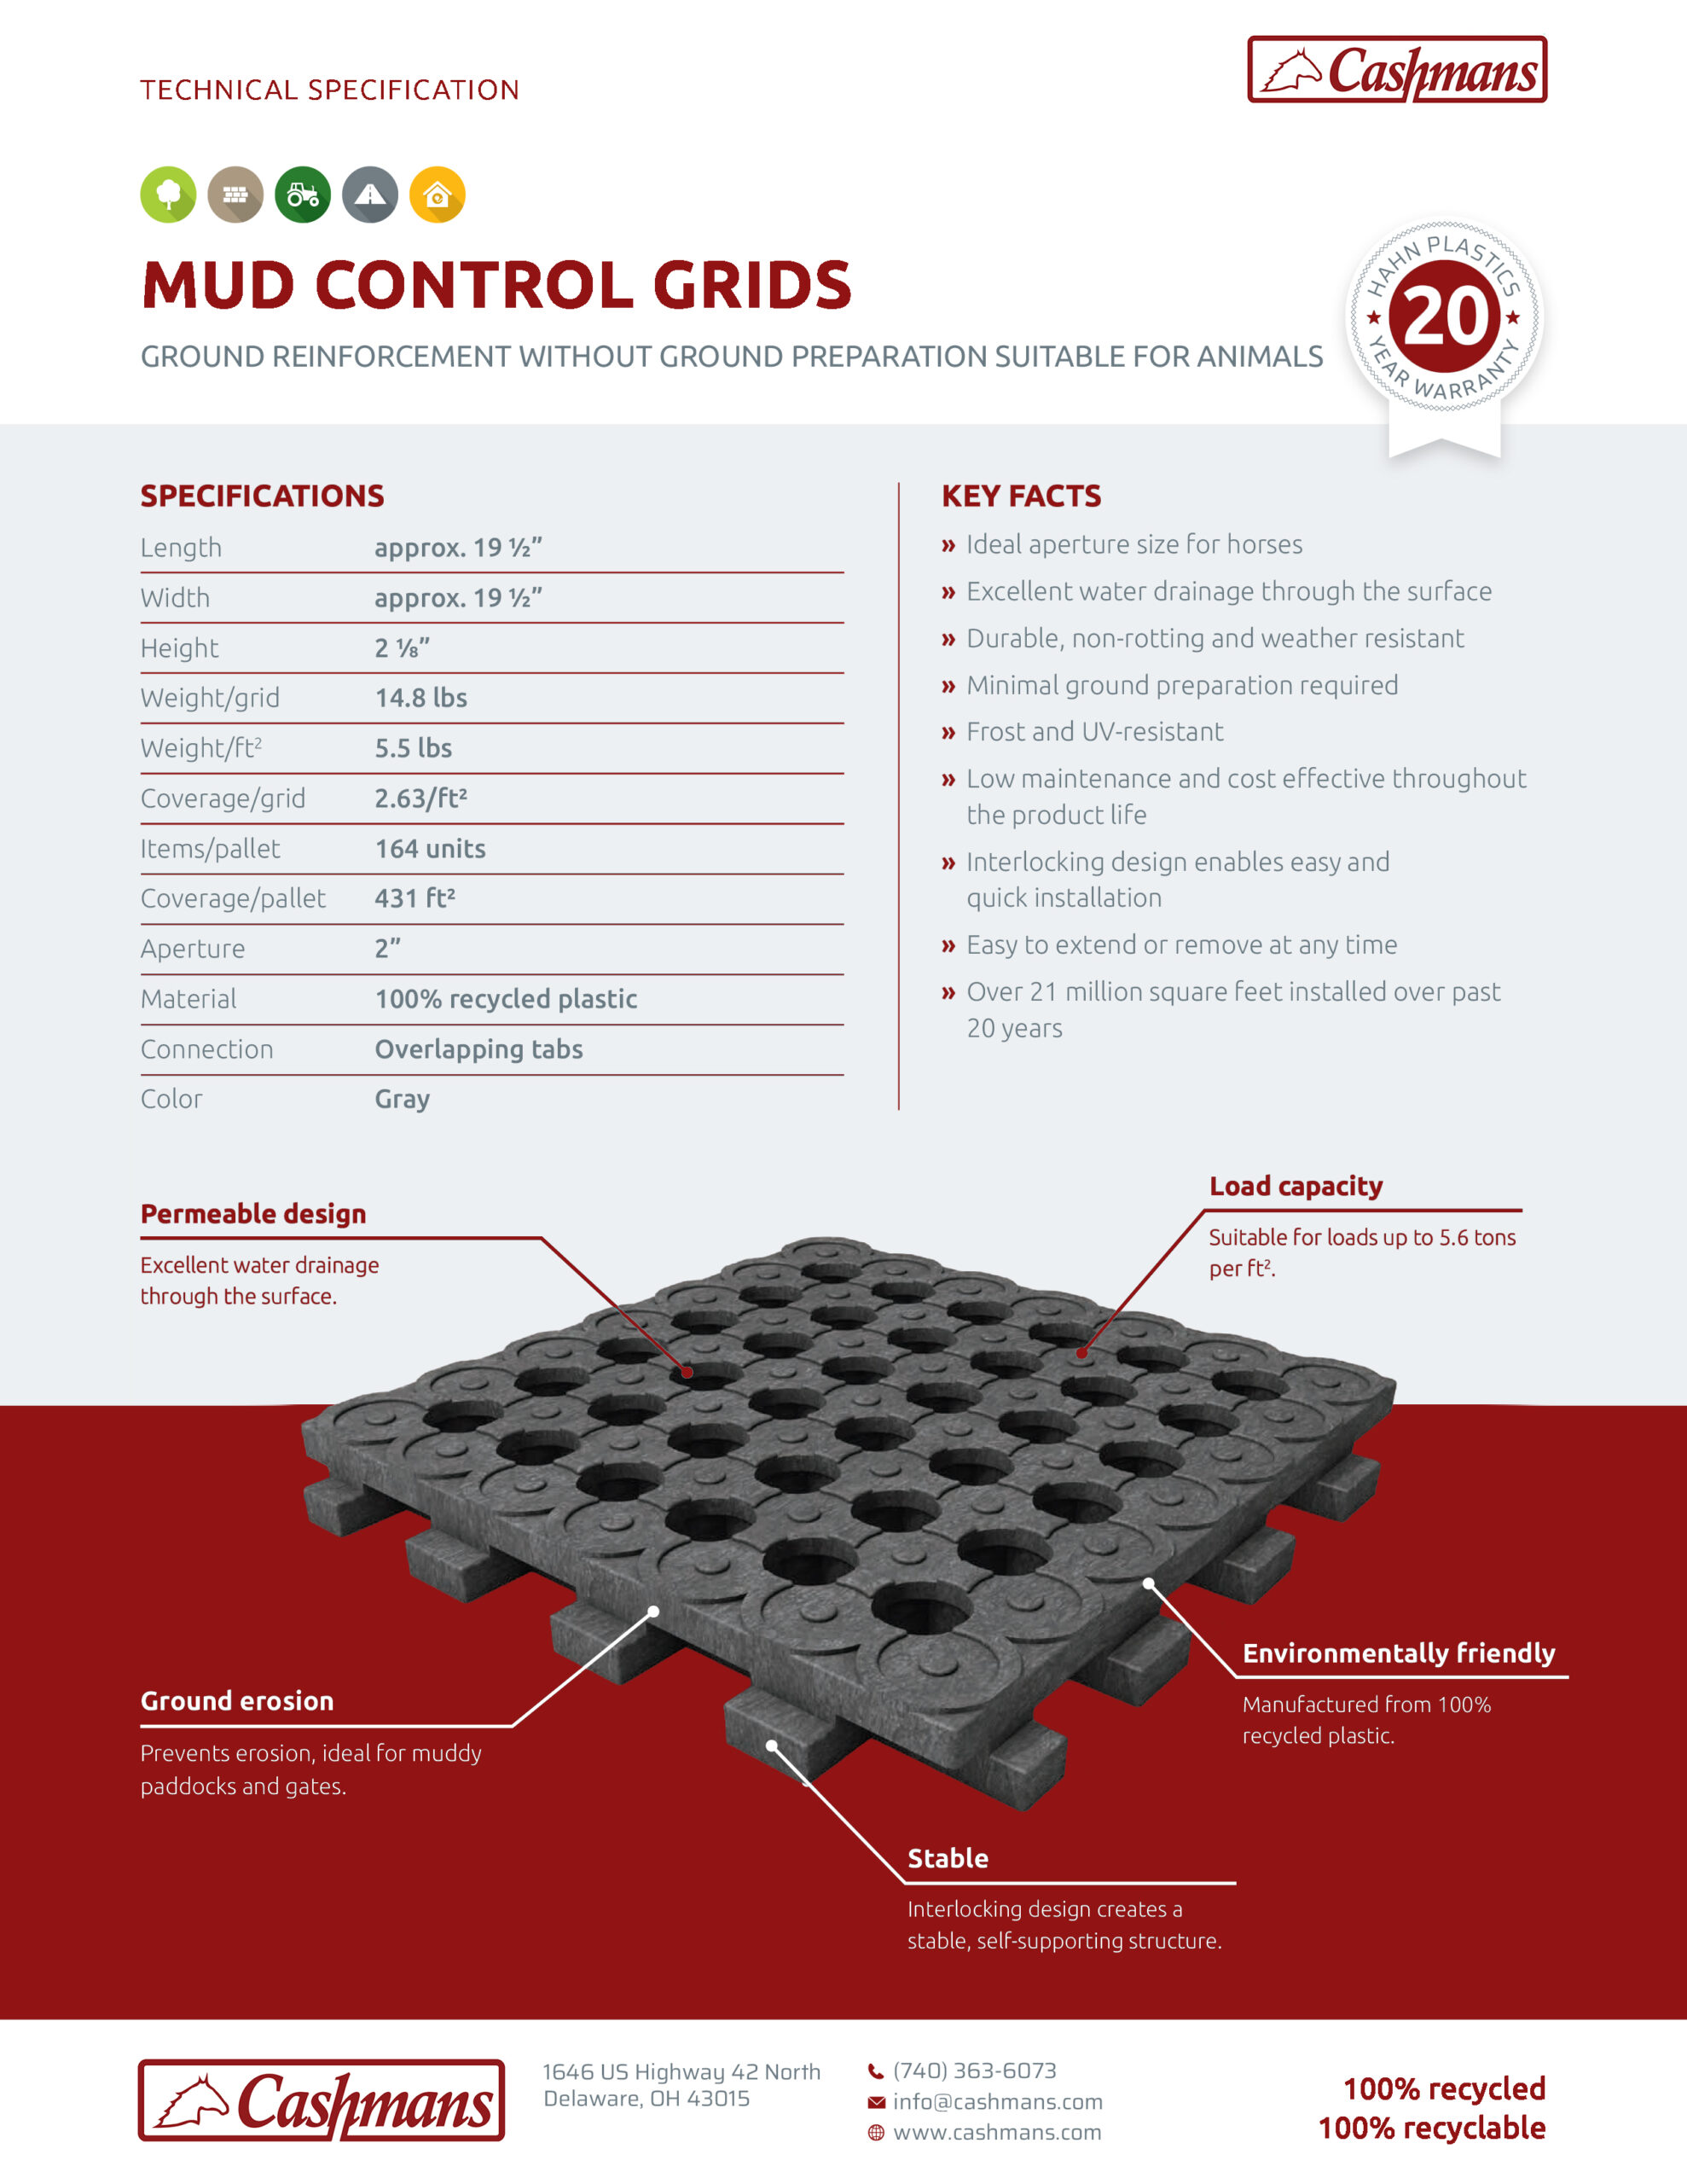
» Ideal aperture size for horses
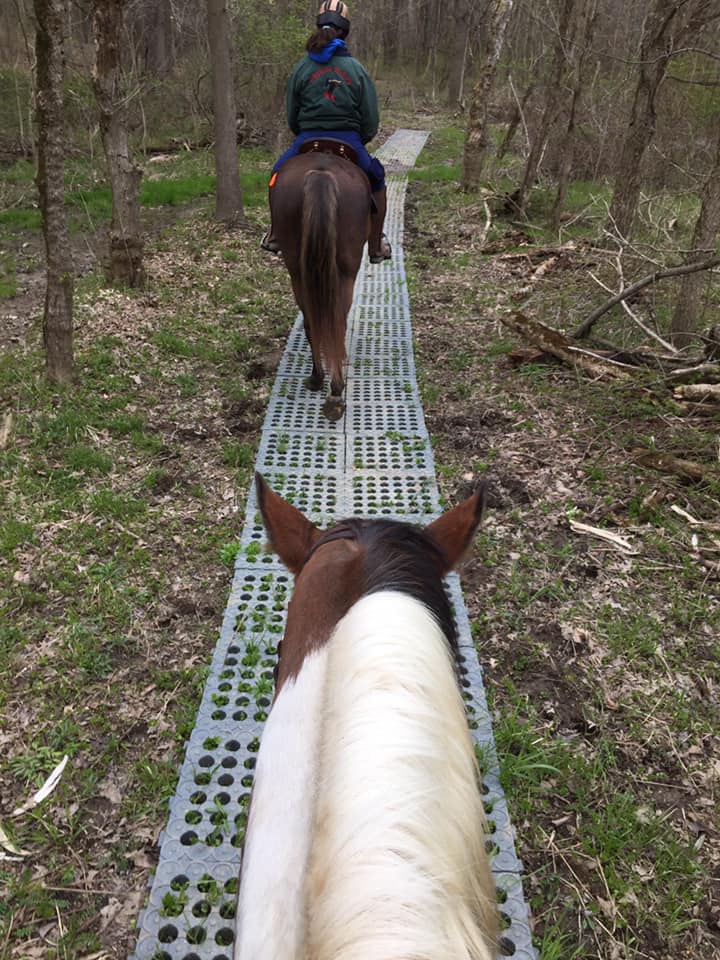
» Excellent water drainage through the surface
» Durable, non-rotting and weather resistant
» Minimal ground preparation required
» Frost and UV-resistant
» Low maintenance and cost effective throughout the product life
» Interlocking design enables easy and quick installation
» Easy to extend or remove at any time
» Over 21 million square feet installed over past 20 years
Manufactured from 100% recycled plastics

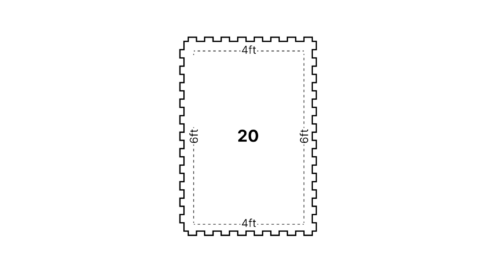
Individual Grid:
Length: ~19.5”
Width: ~19.5”
Height: 2 1/8”
Weight: 15 lbs
Coverage: 2.63 sqft
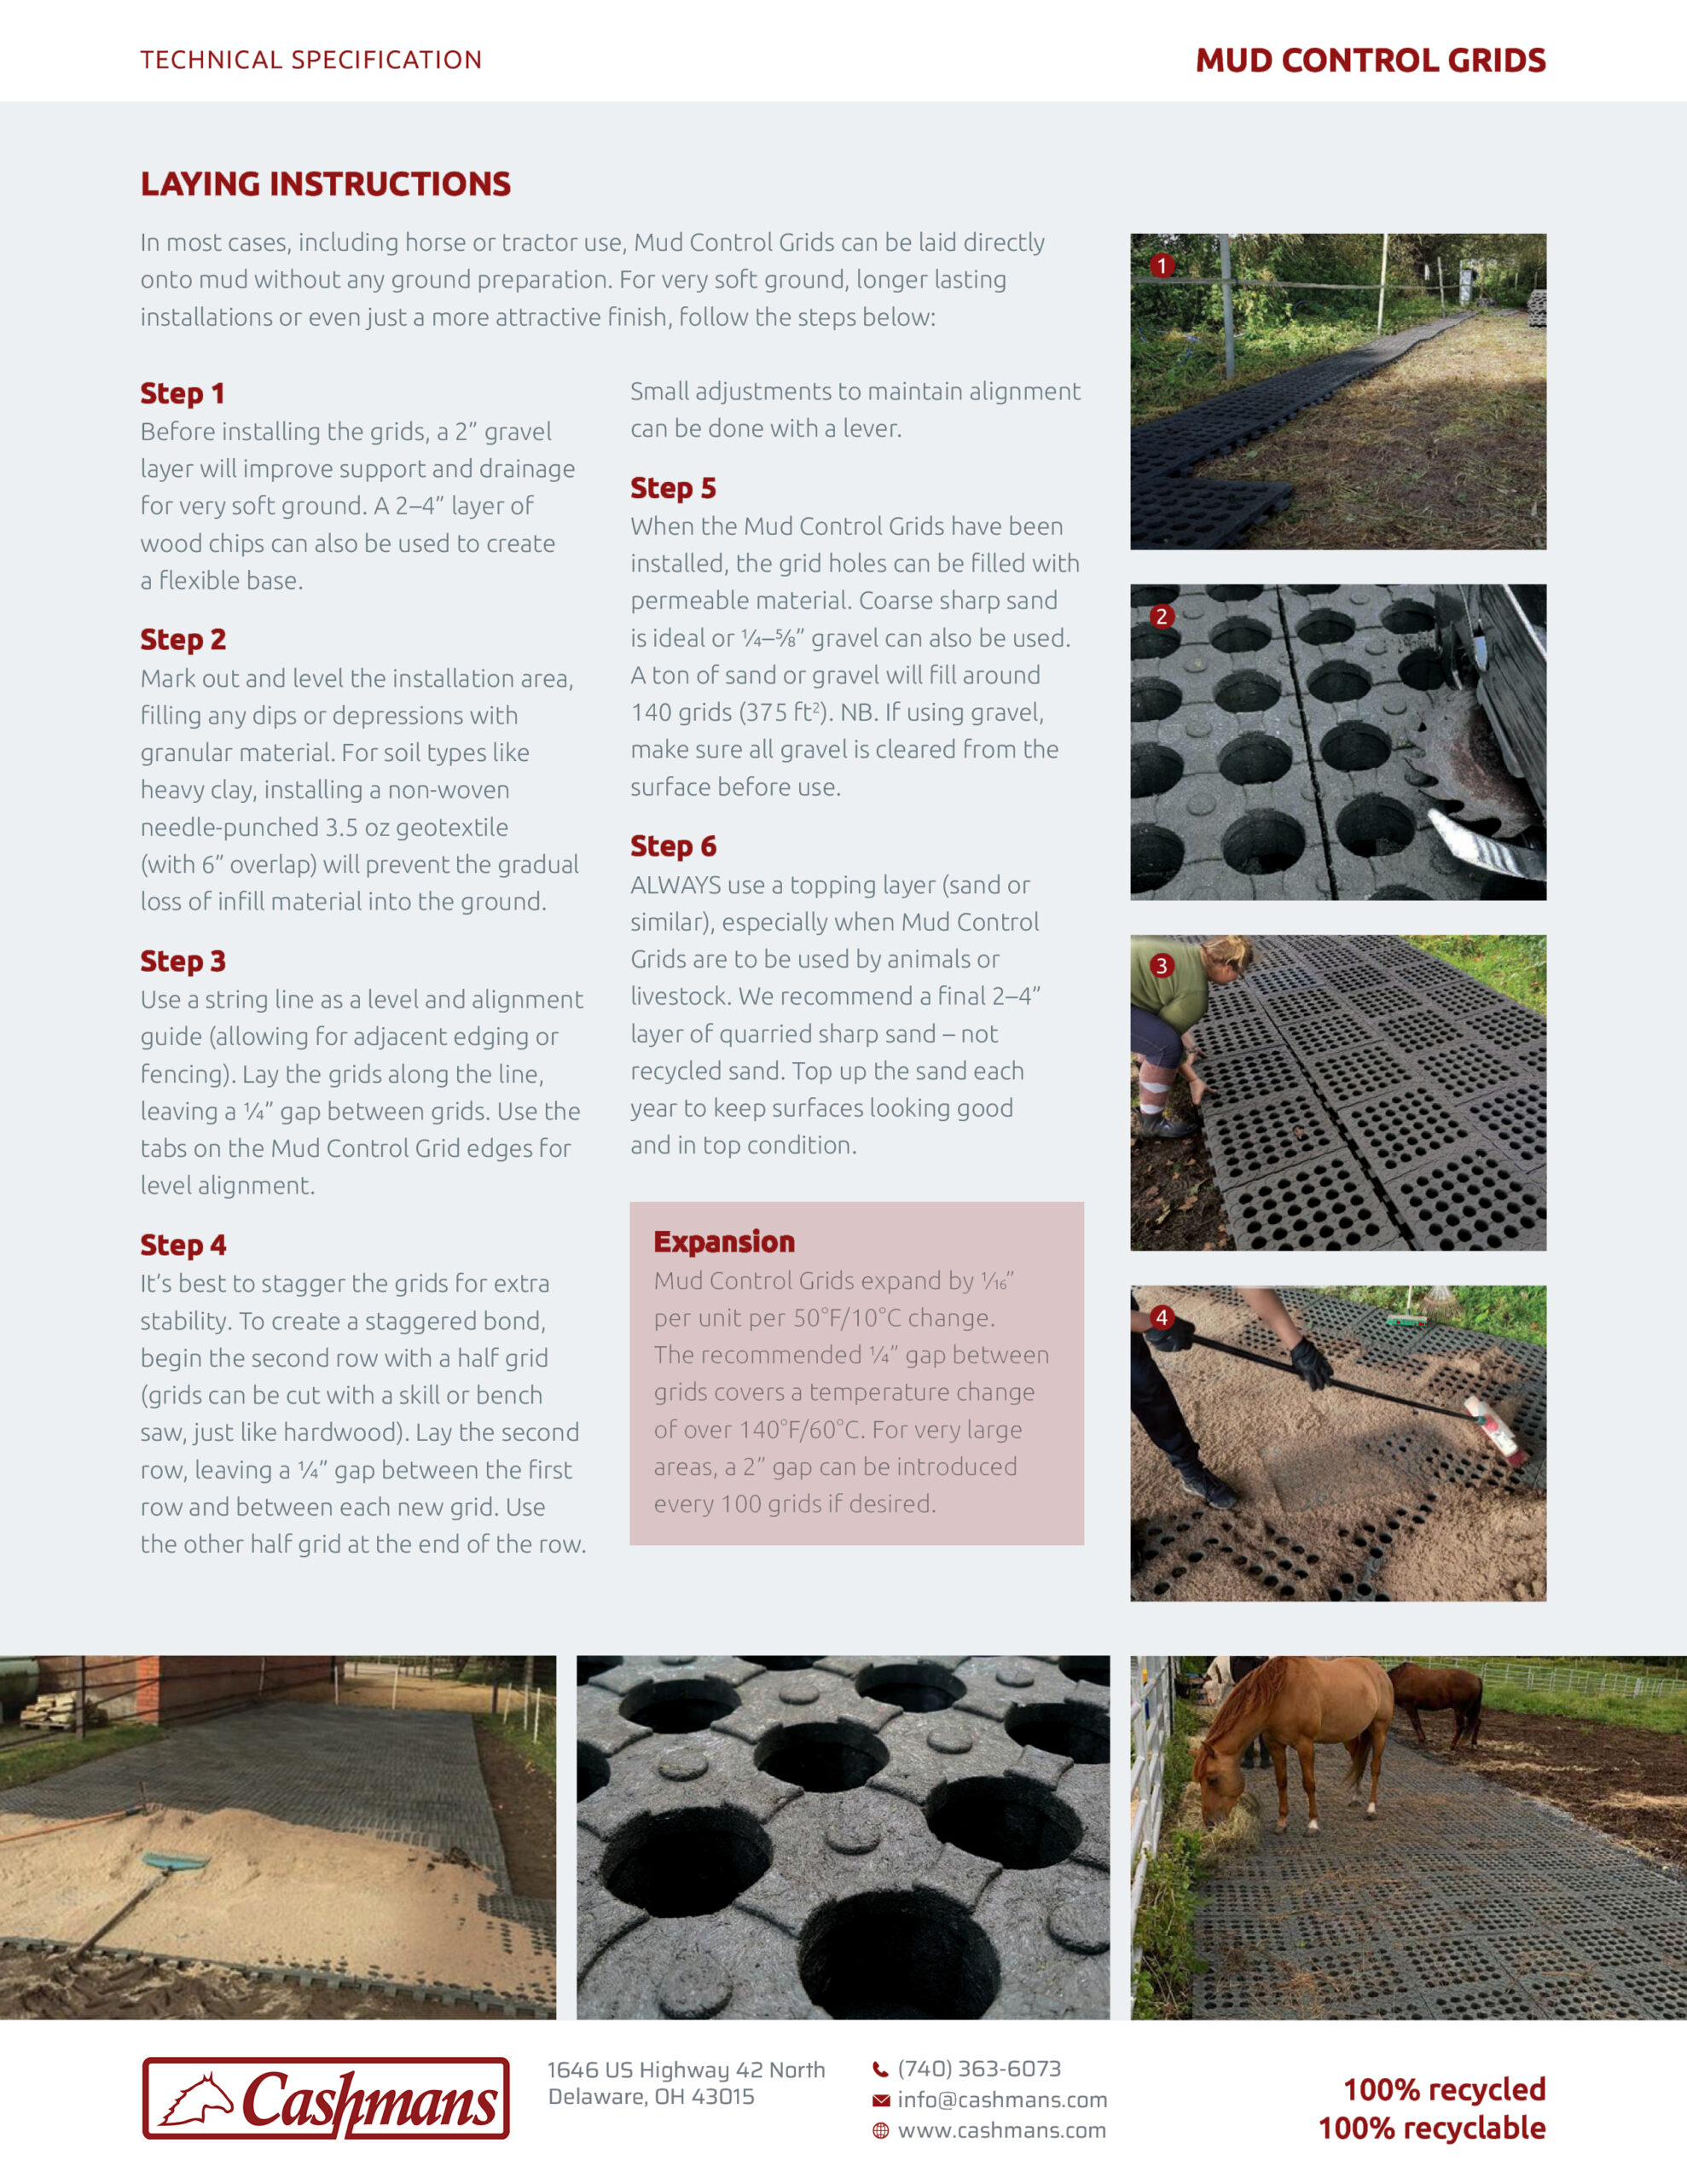
LAYING INSTRUCTIONS:
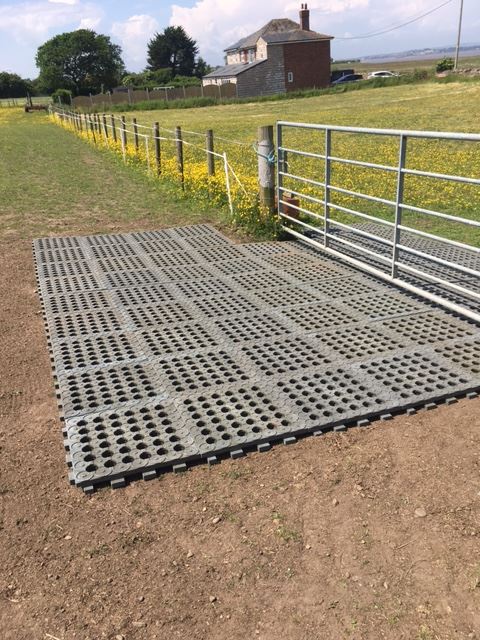
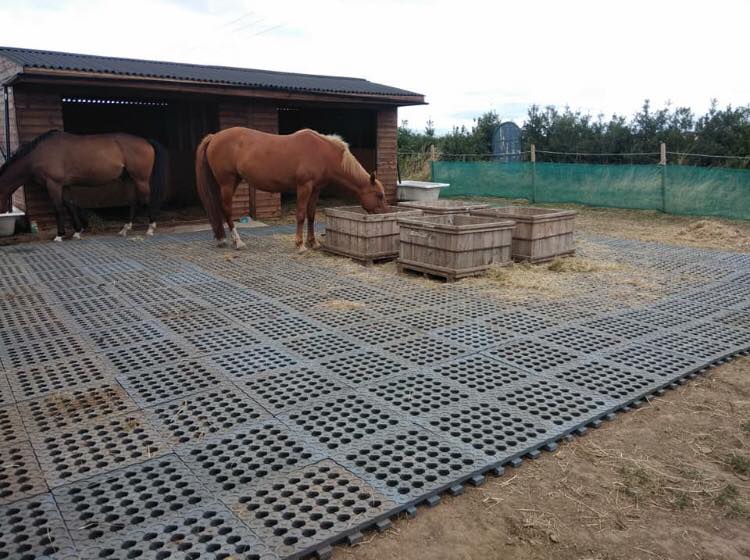
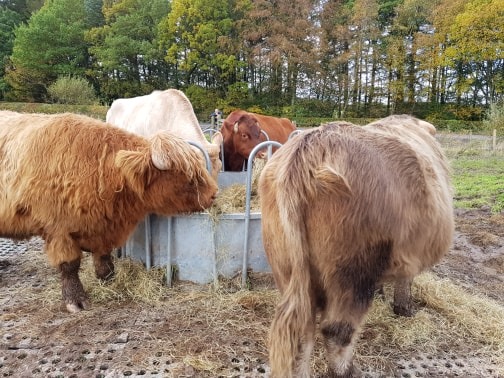
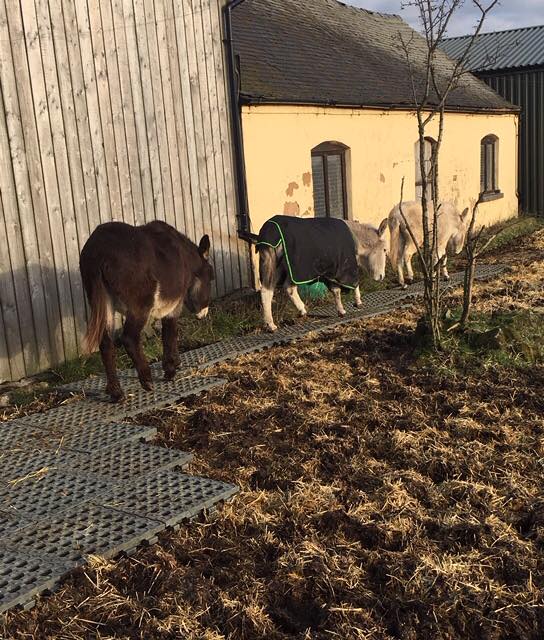
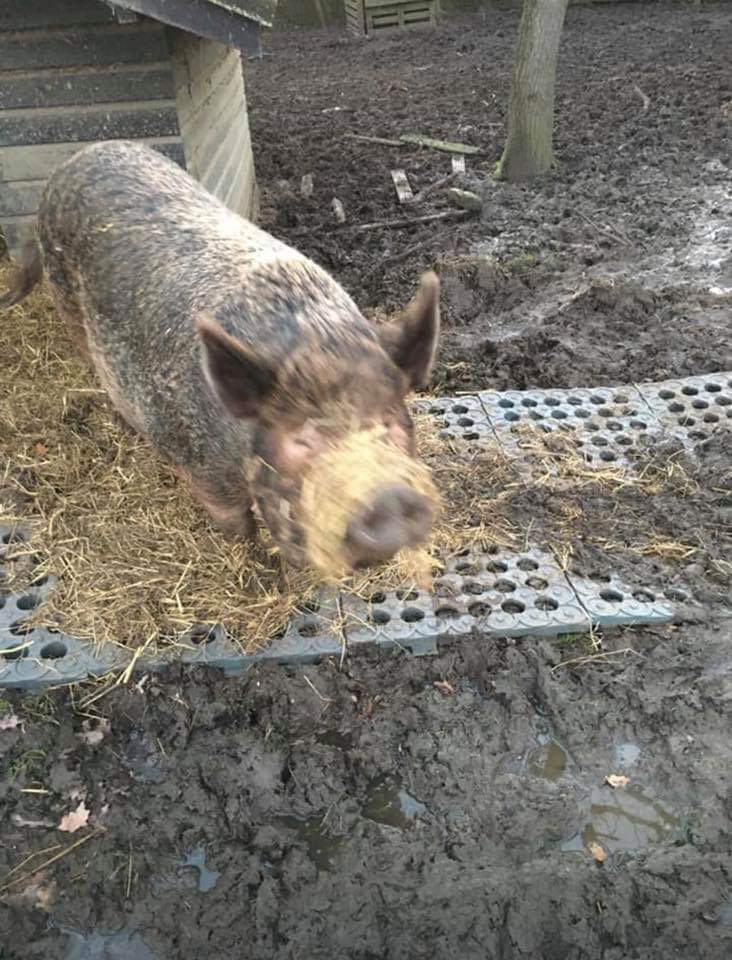
In most cases, including horse or tractor use, Mud Control Grids can be laid directly onto mud without any ground preparation. For very soft ground, longer lasting installations or even just a more attractive finish, follow the steps below:
Step 1
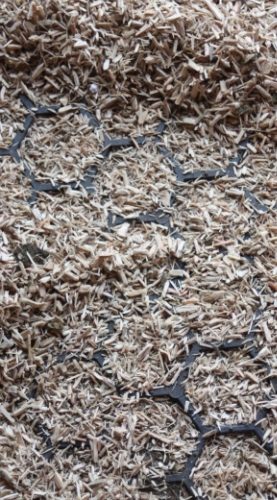
Before installing the grids, a 2” gravel layer will improve support and drainage for very soft ground. A 2–4” layer of wood chips can also be used to create a flexible base.
Step 2
Mark out and level the installation area, filling any dips or depressions with granular material. For soil types like heavy clay, installing a non-woven needle-punched 3.5 oz geotextile (with 6” overlap) will prevent the gradual loss of infill material into the ground.
Step 3
Use a string line as a level and alignment guide (allowing for adjacent edging or fencing). Lay the grids along the line, leaving a ¼” gap between grids. Use the tabs on the Mud Control Grid edges for level alignment.
Step 4
It’s best to stagger the grids for extra stability. To create a staggered bond, begin the second row with a half grid (grids can be cut with a skill or bench saw, just like hardwood). Lay the second row, leaving a ¼” gap between the first row and between each new grid. Use the other half grid at the end of the row. Small adjustments to maintain alignment can be done with a lever.
Step 5
When the Mud Control Grids have been installed, the grid holes can be filled with permeable material. Coarse sharp sand is ideal or ¼–⅝” gravel can also be used. A ton of sand or gravel will fill around 140 grids (375 ft2 ). NB. If using gravel, make sure all gravel is cleared from the surface before use.
Step 6
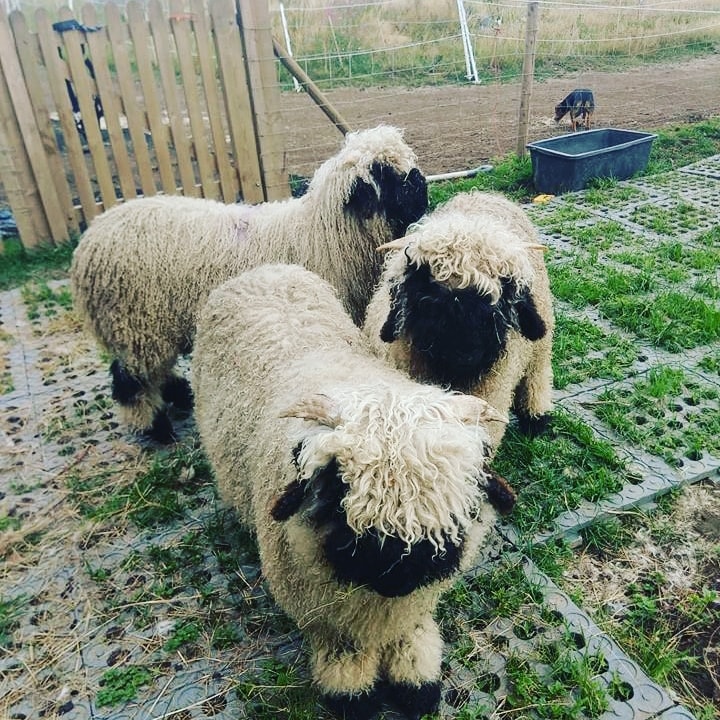
ALWAYS use a topping layer (sand or similar), especially when Mud Control Grids are to be used by animals or livestock. We recommend a final 2–4” layer of quarried sharp sand – not recycled sand. Top up the sand each year to keep surfaces looking good and in top condition.
Expansion
Mud Control Grids expand by ¼ ” per unit per 50°F/10°C change. The recommended ¼” gap between grids covers a temperature change of over 140°F/60°C. For very large areas, a 2” gap can be introduced every 100 grids if desired.
You may also like…
-
-
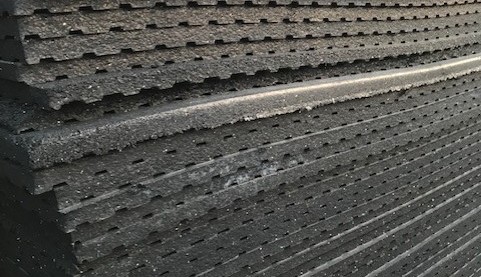
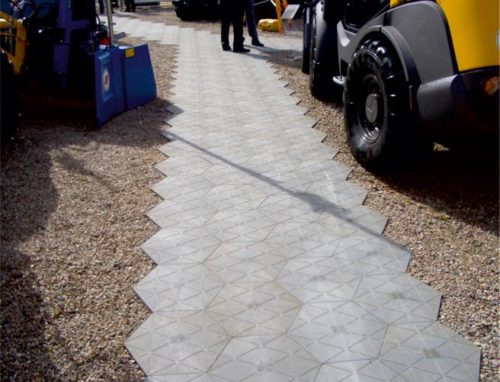
Stable Ground Paddock Slab
$9.60Easy Store Pick Up
Please call for availability
Related products
-
-
-
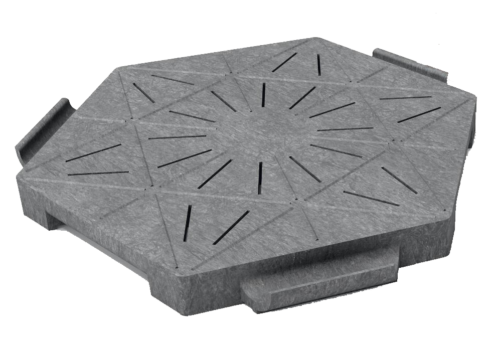
Stable Ground Hexagon Slabs
$9.60Easy Store Pick Up
Please call for availability -

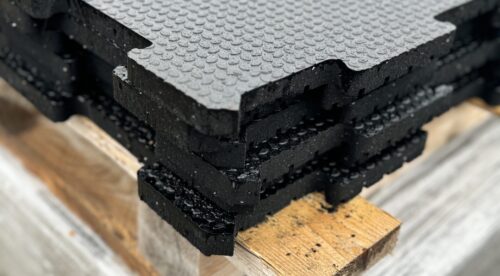
Stamina Fitness Mats
$84.99
